Move to Point with Collisions > 2D

Move to Point with Collisions

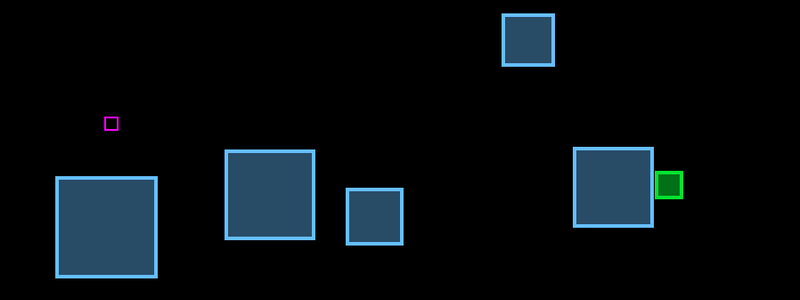
This demonstrates how to move a player (or other object) to a point as determined by clicking on the screen. Left mouse click on the screen and the green rectangle will move to the point, recalculating X & Y directions as it moves therefore moving smoothly. If the player (green rectangle) collides with a blue block it will adjust movement accordingly, however, note that this does not find paths. This will purely stop either X or Y, or both, movement directions, dependent on the angle of movement. This example is based on the previous example Move to Point which does not take collisions into account which can be used as a starting point to complete this example. View on Github

Move to Point > 2D

Move to Point

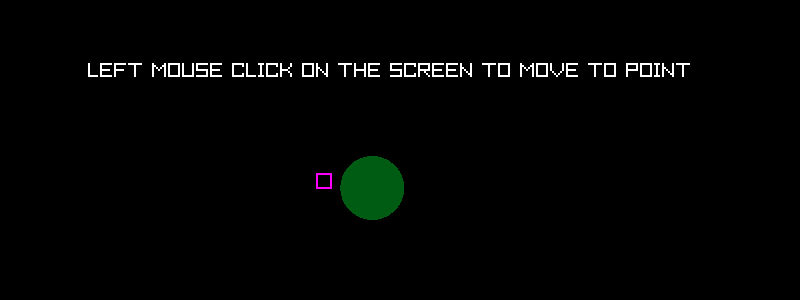
This demonstrates how to move a player (or other object) to a point as determined by clicking on the screen. Left mouse click on the screen and the green circle will move to the point, recalcuting X & Y directions as it moves therefore moving smoothly. Note that this does not take into account collisions with other objects, if you would like to also check for collisions whilst moving then this example includes collision checking. View on Github

Artifical Candlelight > 2D

Fake Candlelight

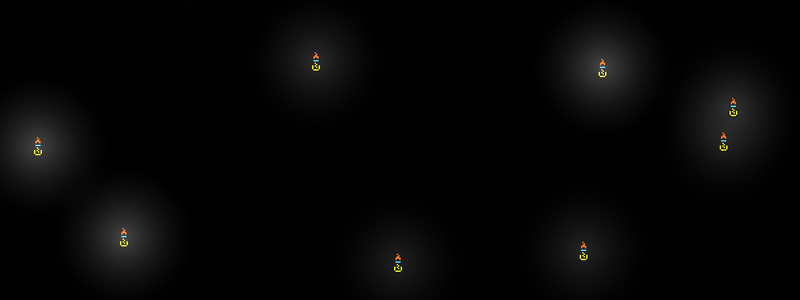
This demonstrates how to create the illusion of flickering candles in 2D using gradient filled circles. To complete this example you will need to download the candle image here. Note that this is not actually lighting, DOWN arrow key changes light color. View on Github

Before you start
I am a self taught Go programmer and do it as a hobby, the code below is my own interpretation of how to do something, probably not the only way or the best way. This is intended as a resource to learn some basic Raylib and Go game dev skills. If you want to use any of the code anywhere else, feel free to do so.

Artifical Motion Blur > 2D

Fake Motion Blur

This demonstrates how to create the illusion of motion blur using by drawing a second overlying image with offset and opacity.To complete this example you will need to download the sprite sheet here. Features change in blur fade (opacity) and blur distance. View on Github

Before you start
I am a self taught Go programmer and do it as a hobby, the code below is my own interpretation of how to do something, probably not the only way or the best way. This is intended as a resource to learn some basic Raylib and Go game dev skills. If you want to use any of the code anywhere else, feel free to do so.

Tile Loading & Grid Editor > 2D

Tile Sheet Loading & Grid Editor

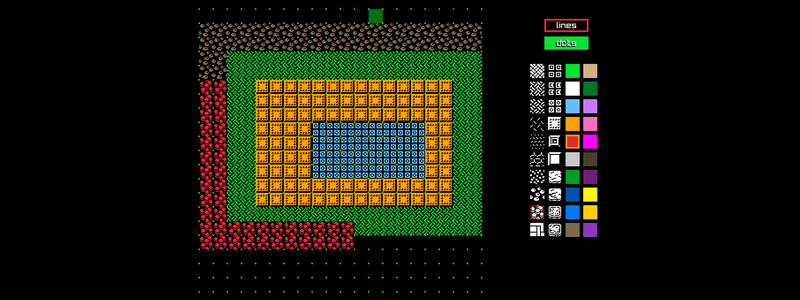
This demonstrates how to extract images from a tile sheet and use in a grid based editor to create maps and level layouts. To complete this example you will need to download the tile sheet here. Features tile sheet loading, grid placement, color selection and clear grid. View on Github

Before you start
I am a self taught Go programmer and do it as a hobby, the code below is my own interpretation of how to do something, probably not the only way or the best way. This is intended as a resource to learn some basic Raylib and Go game dev skills. If you want to use any of the code anywhere else, feel free to do so.

Simple Exploding Blocks > 2D

Simple way to explode blocks

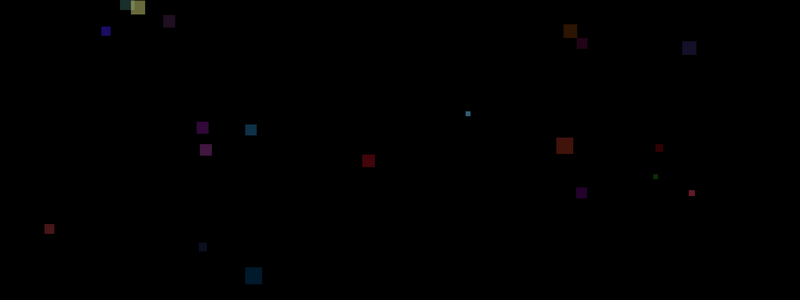
This is an easy way to create an illusion of blocks exploding using a slices of structs that contain fade, color, rectangles and movement direction. Pressing SPACE key will create a slice of smaller blocks with random directions that fade away. Once the timer ends then it will reset and create more blocks. View on Github

Before you start
I am a self taught Go programmer and do it as a hobby, the code below is my own interpretation of how to do something, probably not the only way or the best way. This is intended as a resource to learn some basic Raylib and Go game dev skills. If you want to use any of the code anywhere else, feel free to do so.

Simple Animated Character > 2D

Animated Sprite Character

This demonstrates a simple animated sprite character as you would use in a 2D platformer game. To complete this example you will need to download the sprite sheet here. UP key to change zoom, DOWN key to change color, RIGHT key to increase speed and LEFT key to decrease speed. View on Github

Before you start
I am a self taught Go programmer and do it as a hobby, the code below is my own interpretation of how to do something, probably not the only way or the best way. This is intended as a resource to learn some basic Raylib and Go game dev skills. If you want to use any of the code anywhere else, feel free to do so.

Pixel Noise (Screen Artifacts) > 2D

Simulated pixel noise / screen artifacts

Simulates pixel noise, or old movie-type screen artifacts, with color and size change. To complete this example you will need to download the Go gopher image here. UP arrow key to change pixel noise color, DOWN arrow key to change background color and RIGHT/LEFT arrow keys to increase/decrease pixel noise size . View on Github

Before you start
I am a self taught Go programmer and do it as a hobby, the code below is my own interpretation of how to do something, probably not the only way or the best way. This is intended as a resource to learn some basic Raylib and Go game dev skills. If you want to use any of the code anywhere else, feel free to do so.

Snowflakes Falling > 2D

Snowflakes falling

Draws textures (images) of snowflakes falling at random speeds with random rotations and sizes. To complete this example you will need to download the snowflakes image texture here. SPACE key to turn color on/off and TAB key to turn blur effect on/off. View on Github

Before you start
I am a self taught Go programmer and do it as a hobby, the code below is my own interpretation of how to do something, probably not the only way or the best way. This is intended as a resource to learn some basic Raylib and Go game dev skills. If you want to use any of the code anywhere else, feel free to do so.

Room Tiles > 2D

Random room with image texture tiles

Demonstrates simple tiling of a rectangle with image texture tiles for floors and walls. The tiles can be resized in code and random colors are used for the floors and walls. To complete this example you will need to download the room tiles image texture here. UP arrow key to change zoom and SPACE key to create a new room. View on Github